Skip navigation

Tag Archives: laburnum

There’s an apocryphal story about someone sorting through the possessions of an elderly relative who had died. Among a houseful of stuff, he comes across a shoe-box labelled ‘Bits of string too short to keep’.

I sympathise with the elderly relative – at least as far as bits of wood are concerned. It’s hard to throw away even small scraps of timber, especially when they contain an attractive figure. One solution is to heat the workshop with a wood burning stove. Then the problem goes away each winter. Another possibility is to use them up making something tiny. A few years ago I wrote about making musical boxes. This week, wondering what to do with the walnut left over from the 5-string guitar that I wrote about in a previous post, I thought I’d make a soprano ukulele.

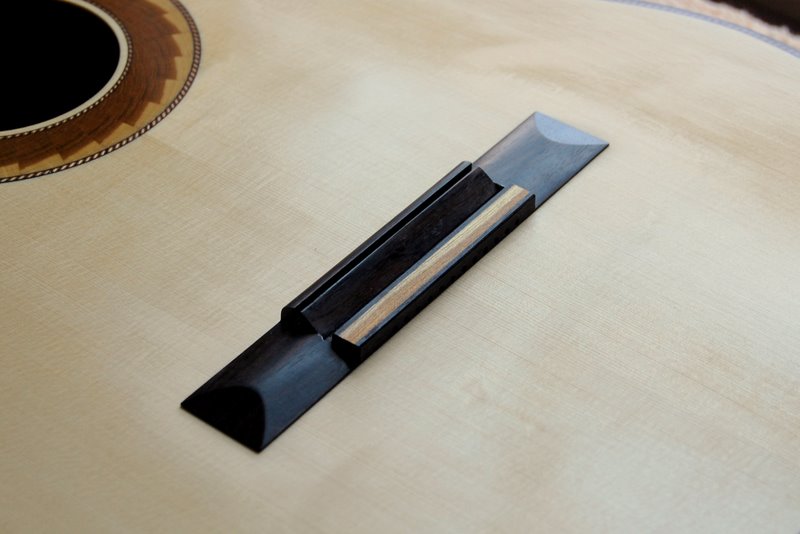
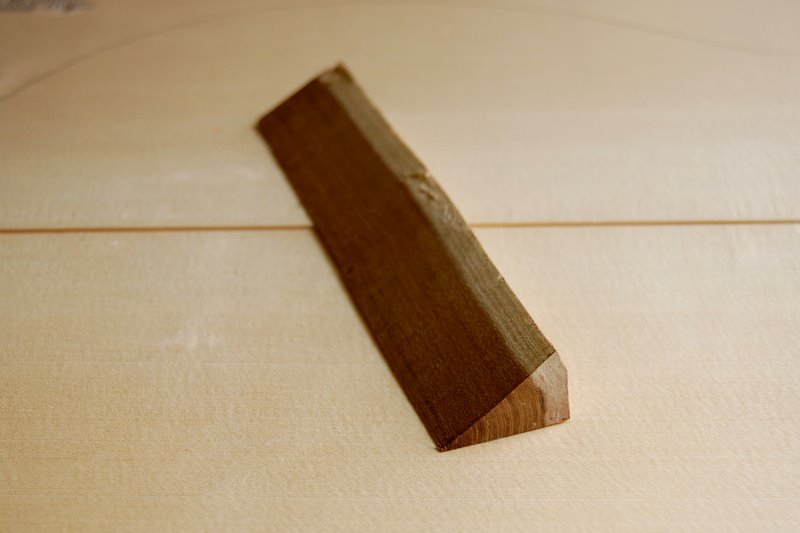
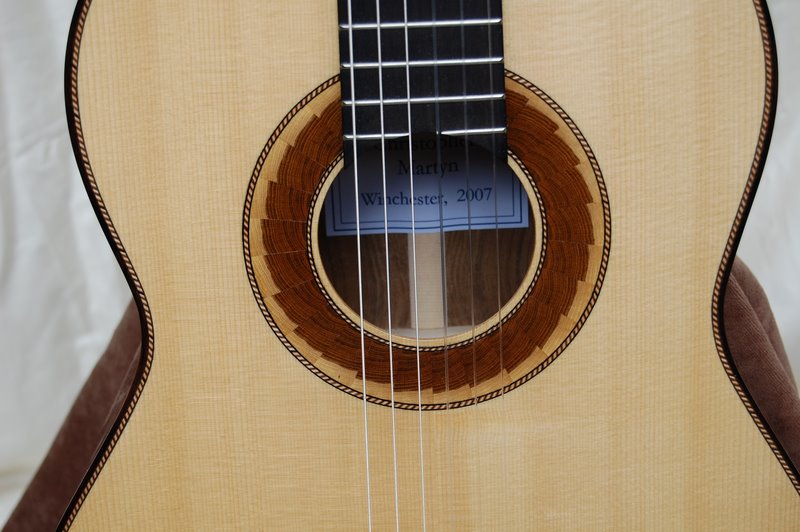
Apart from the walnut, I was able to use up other off-cuts that I hadn’t been able to bring myself to throw away: spruce for the soundboard, laburnum for the headstock veneer and the fingerboard, and a piece of plum for the bridge.

The plans for the ukulele came from Christophe Grellier, a French luthier, who generously makes them freely available on his website.

DSC_7281

DSC_7282

DSC_7285

DSC_7286

Advertisement

Recent posts have been about experiments or jigs or tools so, to make a change, here’s a folding book (or music) stand in pippy English oak.

I’ve made quite a few of these in various woods and various sizes. After the curves of violins and guitars, it’s a pleasure to make something based on a right angle. They make good presents for musicians and bibliophiles. And people who like to cook find them useful for holding recipe books open.


The arms that hold the pages open are in bog oak…


… and so are the dowels which act as hinges for the frame that props the stand open.


Here are a couple more. The one on the left is is sycamore, with page holding arms and dowels of laburnum.


The construction is fairly straightforward. The only tricky bits are in making a neat job where the arms that keep the book open fit into the bottom ledge and in constructing the curved stretcher of the frame that allows the stand to fold up when not in use. I’d be happy to give more details if anyone is interested.

All that remains at this stage is to cut the inner and outer circles to make the annulus of the rosette. I start by drilling a hole in the centre of the work piece…

… and then use a Dremmel mounted in a shop-made jig to cut the circles. (More details of the jig are available in the ‘Tools and Jigs’ section of this site.)

Here are the two rosettes that I’ve talked about in early posts in this series cut out.

And here are a few more. Going clockwise from top left, they’re made of English yew, laburnum, spalted beech, spalted crab apple and mulberry burr.

It’s probably best to leave them attached to their base until you’re ready to install them on the soundboard but, as you can see from the two rosettes at the bottom, I don’t always heed my own advice.

The rosette below is made from laburnum, arranged to show the striking contrast between the light coloured sapwood and the dark heartwood. It’s rather more complicated to make than the spalted beech rosette shown in the previous post and a fair degree of accuracy is needed throughout.

The starting point is a small piece of laburnum. This one has been air drying for a couple of years and I reckon that it should be pretty stable by now. I’ve scraped off the wax that covered the endgrain while it was drying.

The first step is to decide how many individual sector shaped pieces to use to complete the circle. I’m planning to use 20 for this rosette, which means that the sides of the billet must be planed to converge at an angle of 18°. That’s hard to manage on the bench top and it’s worth making a cradle to hold the wood while you plane it to size and shape. Go slowly and carefully because it’s important not only that the angle is right but that there’s no taper along the length of the piece. In addition, the width must be right so that the line between the sap wood and the heart wood ends up where you want it to be in the finished rosette.

Having planed the wood to a near perfect prism, it’s sliced on the bandsaw.

The pieces are numbered as they come off, so that they can be put together again in consecutive order.

Here the rosette is being assembled ‘dry’.

It may be necessary to make some fine adjustments with a shooting board and a block plane.

Here, the first piece is being glued and clamped into position on its plywood base. The base has been marked out in pencil to aid positioning of the individual pieces.

As the pieces are glued into place, the rosette nears completion.

Cleaned up and levelled with a finely set block plane.

The bridge is made out of Macassar ebony inlaid, on the tie-block, with a flash of laburnum to echo the rosette. Earlier today, I positioned it on the soundboard and glued it into place. The clamps are now off but I’m going to be patient and wait until tomorrow before stringing up the instrument. It’s always wise to let the glue cure completely before putting a lot of tension on the bridge.

A few years ago, the gardener at Corpus Christi College, Oxford gave me some laburnum wood from a tree that he had had to take down. I cut it up and air dried it, and use it sometimes in guitar making. By preparing a sector shaped billet and slicing off thin cross sections, it’s possible to fashion a rosette that shows the contrast between the light sapwood and dark heart wood. It’s a more conventional design than Rick Micheletti’s wacky and imaginative rosette that I discussed in my last post, but the effect is quite attractive when inlaid into a top of Alpine spruce. Below are pictures of the rosette and the piece of laburnum from which the individual slices were cut. Obviously, the top has yet to be joined and the rosette inlaid. Those are the next tasks.

And here is guitar that I made last year, which has a rather similar rosette:

%d bloggers like this: