Skip navigation

Monthly Archives: April 2008

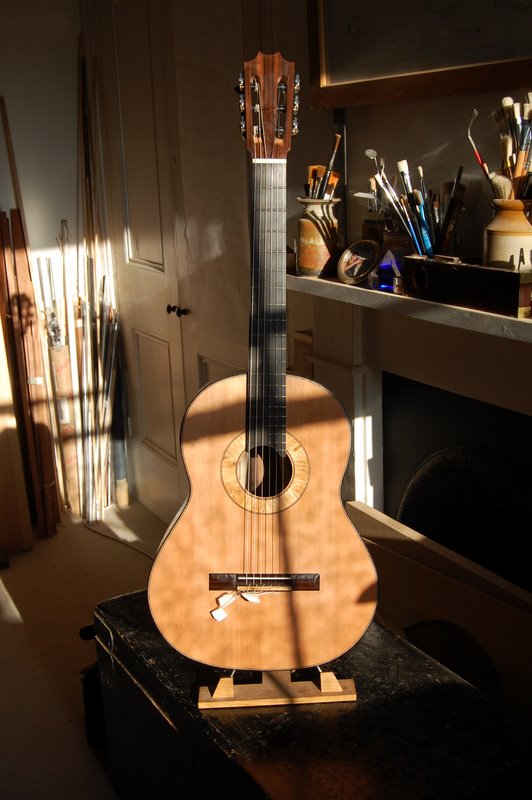
A new guitar means a new decision about what rosette it should have. I’ve written about my views on rosettes before, so I’ll just say that my preference is for designs that are bold and simple over those that tend towards the ornate and finicky. This instrument is going to have a top of European spruce, which is very pale, and the spalted apple wood that I used for the red cedar top of the last guitar won’t provide enough of a colour contrast.

Rick Micheletti, a guitar maker in Mendocino, California, has invented a strikingly attractive and imaginative design for the rosettes that he inlays into the tops of his steel string guitars, as you can see from the pictures below:

MIcheletti rosette

What’s more, he provides a step-by-step guide how to do it. I shan’t copy his design, but his generosity in sharing his technique has stimulated me to start thinking outside the concentric circles of conventional rosettes.

Advertisement

After thicknessing and cutting out the back, there was enough wood left to make a bookmatched headstock veneer. It’s quite a nice idea, I think, for the headstock veneer to be the same wood as the back and ribs, although, of course, there are many other attractive possibilities. Here are a couple of photographs taken after the veneer has been glued, the headstock cut out, shaped and drilled, and the tuning machines temporarily put in place to make sure they fit properly.

.

The cocobolo guitar back that I showed in an earlier post is now jointed and I spent some time yesterday bringing it down to a thickness of just over 2 mm. The grain of the two halves runs in opposite directions after ‘book-matching’, which makes it difficult to avoid tearout along the centre join. And even without that, cocobolo is hard and difficult to deal with. The tool that solves these problems is my Millers Falls scraper plane.

I bought it several years ago in a second hand tool shop and never found it worked well enough to be useful until I replaced its thin cabinet scraper blade with a thicker one from Ron Hock. This transformed its performance and, although I suppose you could do the job with a cabinet scraper by hand, I now think of it as an indispensable tool.

Since it works with a negative cutting angle, a scraper plane doesn’t remove much material at a time. So, if you’re starting with wood that is way too thick, you need something that’s faster, even if it leaves a rougher finish, to get down to somewhere near the final thickness before switching to the scraper plane. A good tool for that is a smoothing plane fitted with a modified (toothed) blade but I’ll save that discussion for another post. Pictures of the scraper plane below.

An exciting evening yesterday. The guitar had its first outing when it was played by my talented friend, Hazel. She tried it out with several pieces, including one by Leo Brouwer, A day in November, which might sound an odd title, given that it’s quite a sunny composition, until you remember that Brouwer is Cuban and that November in Cuba isn’t the dismal month that it is in England.

Of course, if I’m honest, I have to admit that I was more interested in how the guitar sounded than in the music she played. And she made it sound wonderful. I was right that it was a loud instrument but it’s warm and balanced too and I think it’s going to turn out well.

I’m french polishing the guitar at the moment and this is not a process to be hurried. It’s important to let the polish have time to harden. If you don’t, and try to finish the front before the back is properly hard, it’s easy to spoil what you’ve already done. So to avoid the temptation to go too quickly, I’ve started to prepare for the next instrument. The person I’m making it for chose a nicely figured set of cocobolo, which I’ve just cleaned up to remove the sawmarks, and I’m thinking about the best way to bookmatch it. Here are the possibilities (click on the thumbnails to enlarge):

There’s a tiny flash of light coloured sap wood visible in the first and last and, if I chose either of these combinations, I’d have to make the additional decision of whether to leave it in or cut it out.

The combined tension of the strings of a classical guitar adds up to around 40 kilograms, so although it’s an exciting moment, I always feel just a smidgen of anxiety as I bring an instrument up to pitch for the first time. But I’m glad to say that nothing split, cracked or came unglued.

It’s too early to make a judgement on how it sounds – the action is still a little high, and it has yet to receive the final coats of varnish. Besides, instruments change, invariably for the better, in the first weeks and months of their life. Even so, I’m pleased: it’s going to be a powerful beast, I think. The bass is warm and resonant and the trebles already sing clearly but, as I say, we’ll have to wait a bit before forming a definite opinion about its musical qualities.

Here are a couple of photographs, taken as the low spring sunlight streamed into my workshop yesterday afternoon.

Here are some pictures of the last stages of building this guitar.

The one immediately below shows the binding scheme that I settled on – ebony with a narrow band of maple.

Here’s the upper part of the top showing the gently radiused fingerboard and the purfling, the decorative border immediately inside the binding.

I’ve shaped the neck and heel and added an ebony heelcap, again with a thin lining of maple.

And here is the bridge being clamped while the glue sets. I’ll leave it undisturbed overnight and string it up tomorrow.

One question to be resolved is what wood to use for the bindings of this guitar – the strips around the edges of the soundboard and back that frame the instrument visually and protect the vulnerable corners. As I mentioned when I talked about rosettes a few weeks ago, I prefer bold and straightforward (as opposed to fine and detailed) when it comes to how a guitar looks. For this instrument either the strong black of ebony or the light creamy colour of holly seemed possibilities (see pictures below) .

ebony.jpg dsc_0002.jpg

I couldn’t make up my mind which would look better and only reached a decision by asking the person whom I was making it for. He had no doubt that he preferred the ebony. Pictures of the guitar with the binding and purfling in place to follow.

I regret that there were so few posts last month. Blame a skiing holiday and a cluster of deadlines in activities other than instrument making. However, the guitar is nearing completion and I’ll post further photographs soon. In the meantime, you may like to have a look at the instruments shown in the new Gallery page.

%d bloggers like this: