Skip navigation

Tag Archives: classical guitar

A few weeks ago, I started French polishing a cedar-topped guitar and, to avoid the temptation of rushing to get it finished, I began making another to give myself something to do while waiting for the polish to dry and harden. Absurdly, the strategy worked too well; I became so absorbed in making the second instrument that I didn’t pay enough attention to the one I was supposed to be polishing. This meant that I didn’t notice a problem: the shellac that I was putting on wasn’t hardening properly.

It took me a while both to identify the problem and to come up with a diagnosis. I’d been using light mineral oil on the pad (instead of the usual linseed oil) to stop any sticking as the polish was rubbed on and I reckon that some of this oil had got incorporated into the finish and slowed up the hardening. The advice to use mineral oil comes from the chapter on shellac in Bob Flexner’s book Understanding Wood Finishing, which is otherwise a mine of good sense. It’s possible of course, that I’m wrong in laying the blame at his door but when I eventually bit the bullet, wiped off the non-hardening shellac and started all over again using linseed oil, the problem didn’t recur. I’d be most interested to know if anyone else has had the same experience. Sometime I must make some experiments with different oils to find out whether this is the correct explanation.

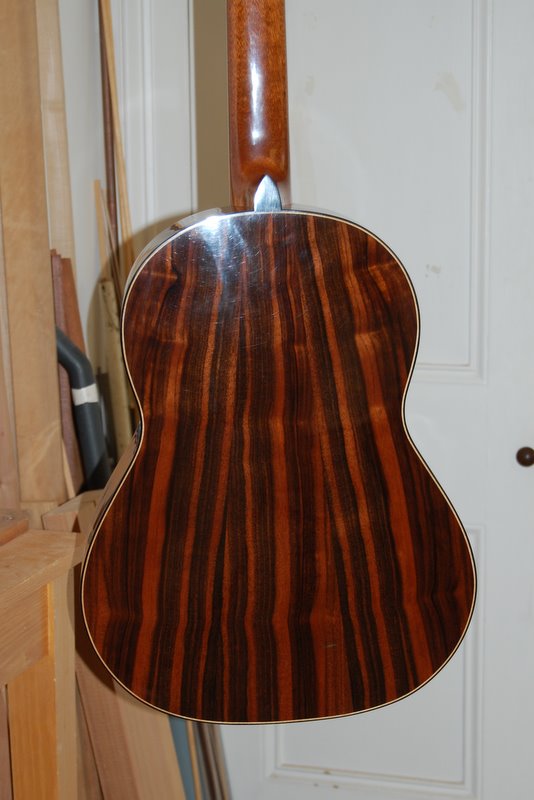
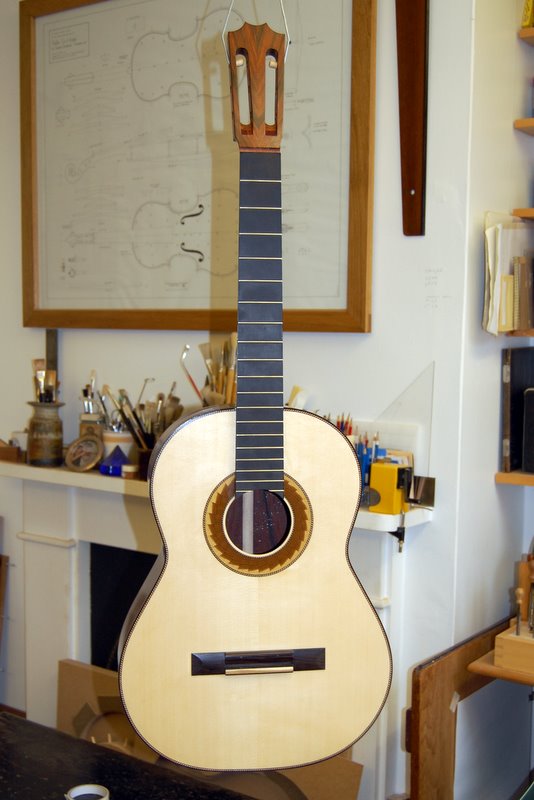
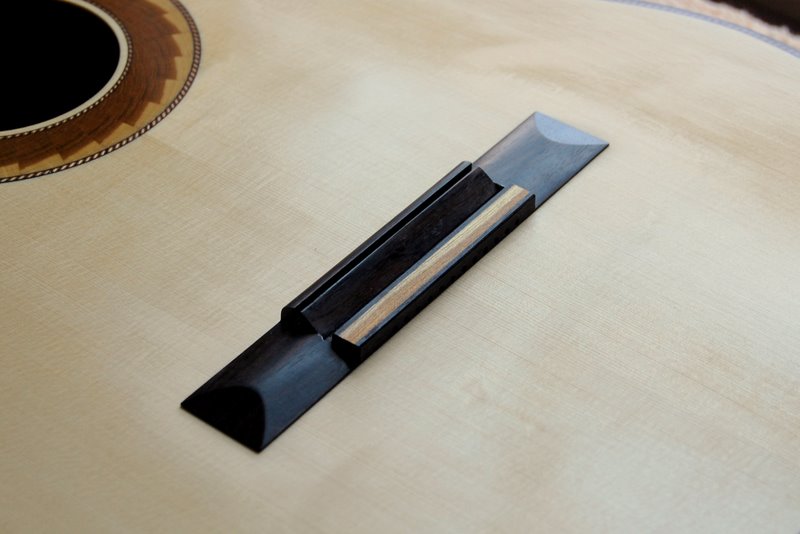
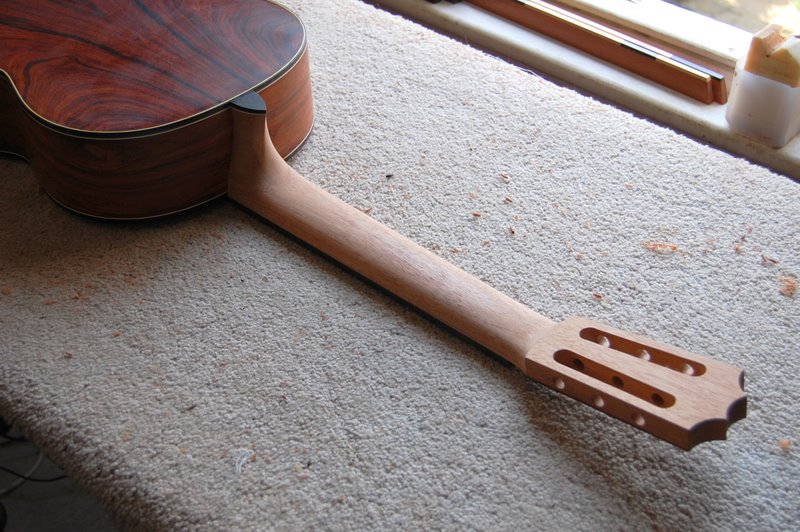
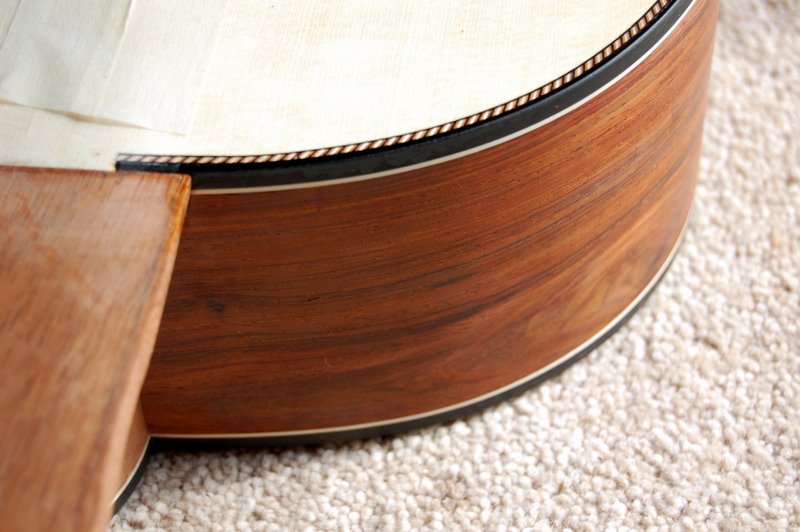
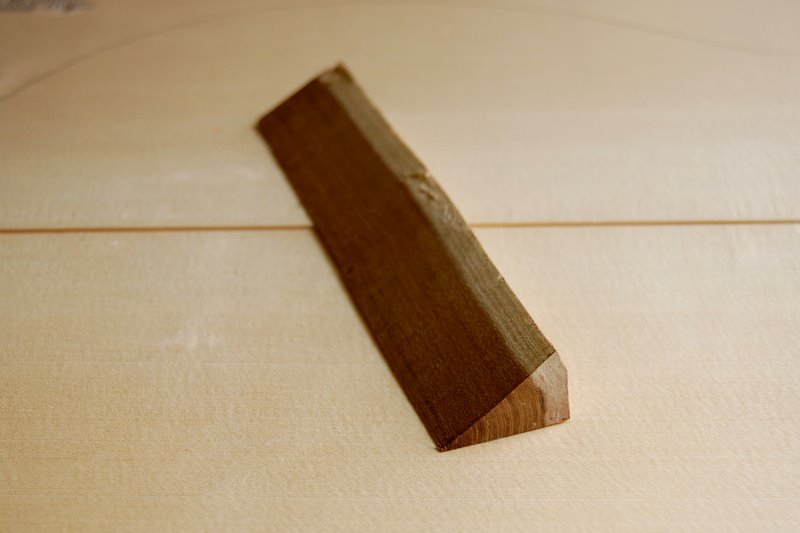
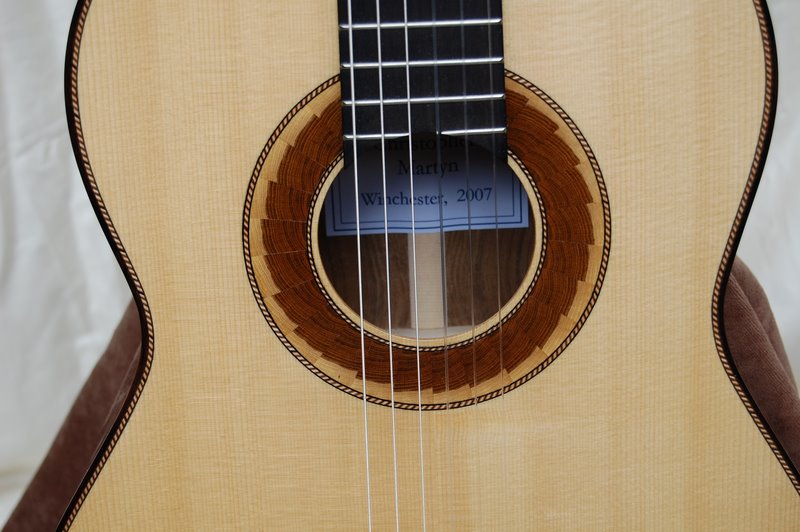
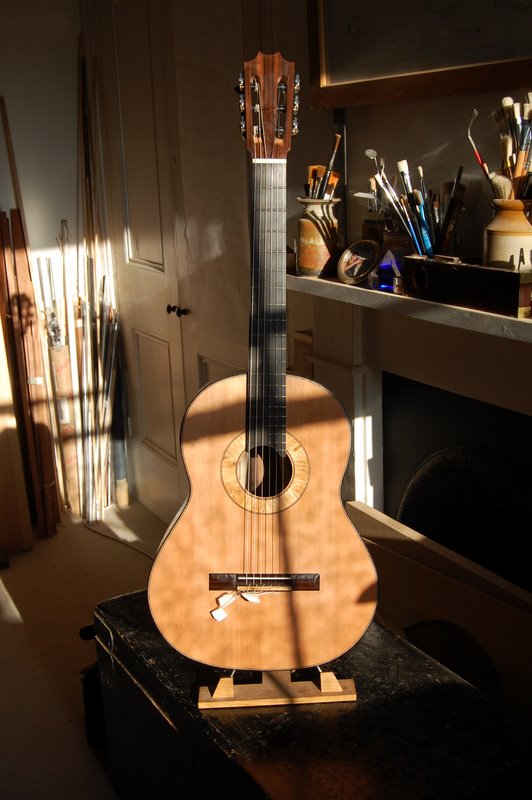
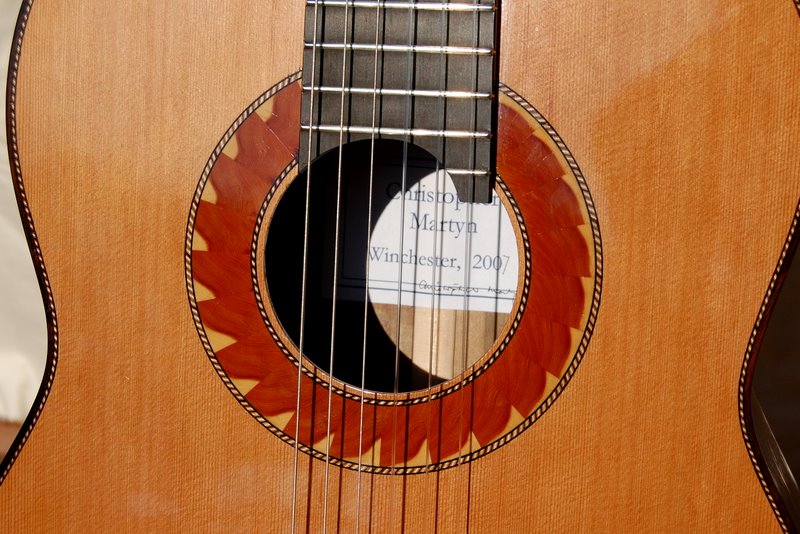
All of this inevitably slowed down completion of both instruments and there hasn’t been much to photograph or write about, which is why there haven’t been any posts for the last couple of weeks. Anyway, I’m now at the final stages. Here’s the current state of the two guitars:

The bridge is made out of Macassar ebony inlaid, on the tie-block, with a flash of laburnum to echo the rosette. Earlier today, I positioned it on the soundboard and glued it into place. The clamps are now off but I’m going to be patient and wait until tomorrow before stringing up the instrument. It’s always wise to let the glue cure completely before putting a lot of tension on the bridge.

The fingerboard has now been fitted and fretted to a scale length of 650mm. I’ve more or less finalized the shape of the neck too. Time to make the bridge.

The binding and purfling went in quite neatly. It’s a simple scheme but I think it will look fine on the finished instrument. You can judge for yourself from the pictures. The apparent staining of the wood in some places is where I have brushed on some shellac to stop the white maple picking up dirt or, worse, turning an orange colour from contact with the cocobolo. It will disappear when the next coat of shellac goes on.

The next tasks are to prepare a fingerboard and make a bridge.

I’ve glued on the back, so the ‘box’ is closed and it’s looking pretty much like a guitar. The next task is the binding and purfling. The cocobolo of the back and ribs has a fine figure and I thought that the straightforward black and white (ebony and maple) scheme that I used for the last instrument would set it off nicely. As you can see , I’ve already made a start with the end block inlay.

Well, this was the moment that I was trying to describe. First, the neck was glued to the soundboard. Then the tail block was positioned and glued, the ribs slid into place, and glued at the neck and the tail. Finally, the perimeter of the soundboard was attached with tentellones. Only a day’s work, but enough energy was added to the system (to continue my ridiculous metaphor from physics) to achieve a quantum leap.

A few years ago, the gardener at Corpus Christi College, Oxford gave me some laburnum wood from a tree that he had had to take down. I cut it up and air dried it, and use it sometimes in guitar making. By preparing a sector shaped billet and slicing off thin cross sections, it’s possible to fashion a rosette that shows the contrast between the light sapwood and dark heart wood. It’s a more conventional design than Rick Micheletti’s wacky and imaginative rosette that I discussed in my last post, but the effect is quite attractive when inlaid into a top of Alpine spruce. Below are pictures of the rosette and the piece of laburnum from which the individual slices were cut. Obviously, the top has yet to be joined and the rosette inlaid. Those are the next tasks.

And here is guitar that I made last year, which has a rather similar rosette:

After thicknessing and cutting out the back, there was enough wood left to make a bookmatched headstock veneer. It’s quite a nice idea, I think, for the headstock veneer to be the same wood as the back and ribs, although, of course, there are many other attractive possibilities. Here are a couple of photographs taken after the veneer has been glued, the headstock cut out, shaped and drilled, and the tuning machines temporarily put in place to make sure they fit properly.

.

An exciting evening yesterday. The guitar had its first outing when it was played by my talented friend, Hazel. She tried it out with several pieces, including one by Leo Brouwer, A day in November, which might sound an odd title, given that it’s quite a sunny composition, until you remember that Brouwer is Cuban and that November in Cuba isn’t the dismal month that it is in England.

Of course, if I’m honest, I have to admit that I was more interested in how the guitar sounded than in the music she played. And she made it sound wonderful. I was right that it was a loud instrument but it’s warm and balanced too and I think it’s going to turn out well.

I’m french polishing the guitar at the moment and this is not a process to be hurried. It’s important to let the polish have time to harden. If you don’t, and try to finish the front before the back is properly hard, it’s easy to spoil what you’ve already done. So to avoid the temptation to go too quickly, I’ve started to prepare for the next instrument. The person I’m making it for chose a nicely figured set of cocobolo, which I’ve just cleaned up to remove the sawmarks, and I’m thinking about the best way to bookmatch it. Here are the possibilities (click on the thumbnails to enlarge):

There’s a tiny flash of light coloured sap wood visible in the first and last and, if I chose either of these combinations, I’d have to make the additional decision of whether to leave it in or cut it out.

The combined tension of the strings of a classical guitar adds up to around 40 kilograms, so although it’s an exciting moment, I always feel just a smidgen of anxiety as I bring an instrument up to pitch for the first time. But I’m glad to say that nothing split, cracked or came unglued.

It’s too early to make a judgement on how it sounds – the action is still a little high, and it has yet to receive the final coats of varnish. Besides, instruments change, invariably for the better, in the first weeks and months of their life. Even so, I’m pleased: it’s going to be a powerful beast, I think. The bass is warm and resonant and the trebles already sing clearly but, as I say, we’ll have to wait a bit before forming a definite opinion about its musical qualities.

Here are a couple of photographs, taken as the low spring sunlight streamed into my workshop yesterday afternoon.

Here are some pictures of the last stages of building this guitar.

The one immediately below shows the binding scheme that I settled on – ebony with a narrow band of maple.

Here’s the upper part of the top showing the gently radiused fingerboard and the purfling, the decorative border immediately inside the binding.

I’ve shaped the neck and heel and added an ebony heelcap, again with a thin lining of maple.

And here is the bridge being clamped while the glue sets. I’ll leave it undisturbed overnight and string it up tomorrow.

One question to be resolved is what wood to use for the bindings of this guitar – the strips around the edges of the soundboard and back that frame the instrument visually and protect the vulnerable corners. As I mentioned when I talked about rosettes a few weeks ago, I prefer bold and straightforward (as opposed to fine and detailed) when it comes to how a guitar looks. For this instrument either the strong black of ebony or the light creamy colour of holly seemed possibilities (see pictures below) .

ebony.jpg dsc_0002.jpg

I couldn’t make up my mind which would look better and only reached a decision by asking the person whom I was making it for. He had no doubt that he preferred the ebony. Pictures of the guitar with the binding and purfling in place to follow.

I’ve been thinking about the rosette for this guitar. The traditional rosette on a classical guitar is a repeating mosaic pattern made up of thin strips of differently coloured woods often less than a millimetre square in size. It’s an elaborate and painstaking business to make and, though it’s heresy to say so, I’ve never thought that the results were  very exciting. The pattern is just too fine to be appreciated, or even noticed, more than a couple of feet away. Besides, it’s too contrived, too finicky, too far removed from any function.

Trying to find a simpler and visually bolder solution I’ve been experimenting with inlays of saw cut veneer and you can see the results below. The rosette on the left is made out of laburnum by slicing a sector-shaped log containing both sapwood and heartwood across the grain, and arranging the slices in order around the sound hole. The one in the middle is made in the same way but using yew rather than laburnum – another wood with a striking contrast between sapwood and heartwood. On the right, the rosette is made of spalted crab-apple but orientated to display long grain, not end grain.

dsc_0060.jpg dsc_0008.jpg l1020756-1.jpg

Click on thumbnails for an enlarged view.

I’m inclining towards using spalted crab-apple for the rosette of this guitar too. The creamy colour should make a striking contrast with the sandy colour of the cedar top that I intend to use. In a previous guitar, I carried the theme a bit further by using spalted crab-apple veneer for the headstock – an idea which might work with this guitar too.

l1020758.jpg