Skip navigation

Tag Archives: French polish

It’s easy to understand why professional guitar players choose to play large powerful instruments. They need to be confident that they can fill a concert hall with sound.

But why do amateur players so often select instruments with the same characteristics? After all, they are mostly playing for their own pleasure, and mostly in their own homes. When they do play for others, the audience is usually small and loudness is rarely an issue.

I’ve often wondered whether they might do better to choose a smaller instrument with a shorter scale length. The loss of volume would be slight and probably more than compensated for by sweetness of tone. The shorter scale length would make fewer demands on the left hand and flatter their technique. For players with a smaller hand span, a shorter scale can extend their repertoire, bringing pieces with extreme stretches within reach. And, of course, small instruments have the advantages of being lighter to carry and taking up less room when put away.

I’ve written about smaller instruments before but, apart from a single request from a client who wanted an instrument with a scale length of 630mm instead of the usual 650mm, never got much in the way of a response. Recently however, my patience was rewarded and I was delighted to be asked to make a small guitar. There are a few photographs of it below.


DSC_9358-Edit

DSC_9382


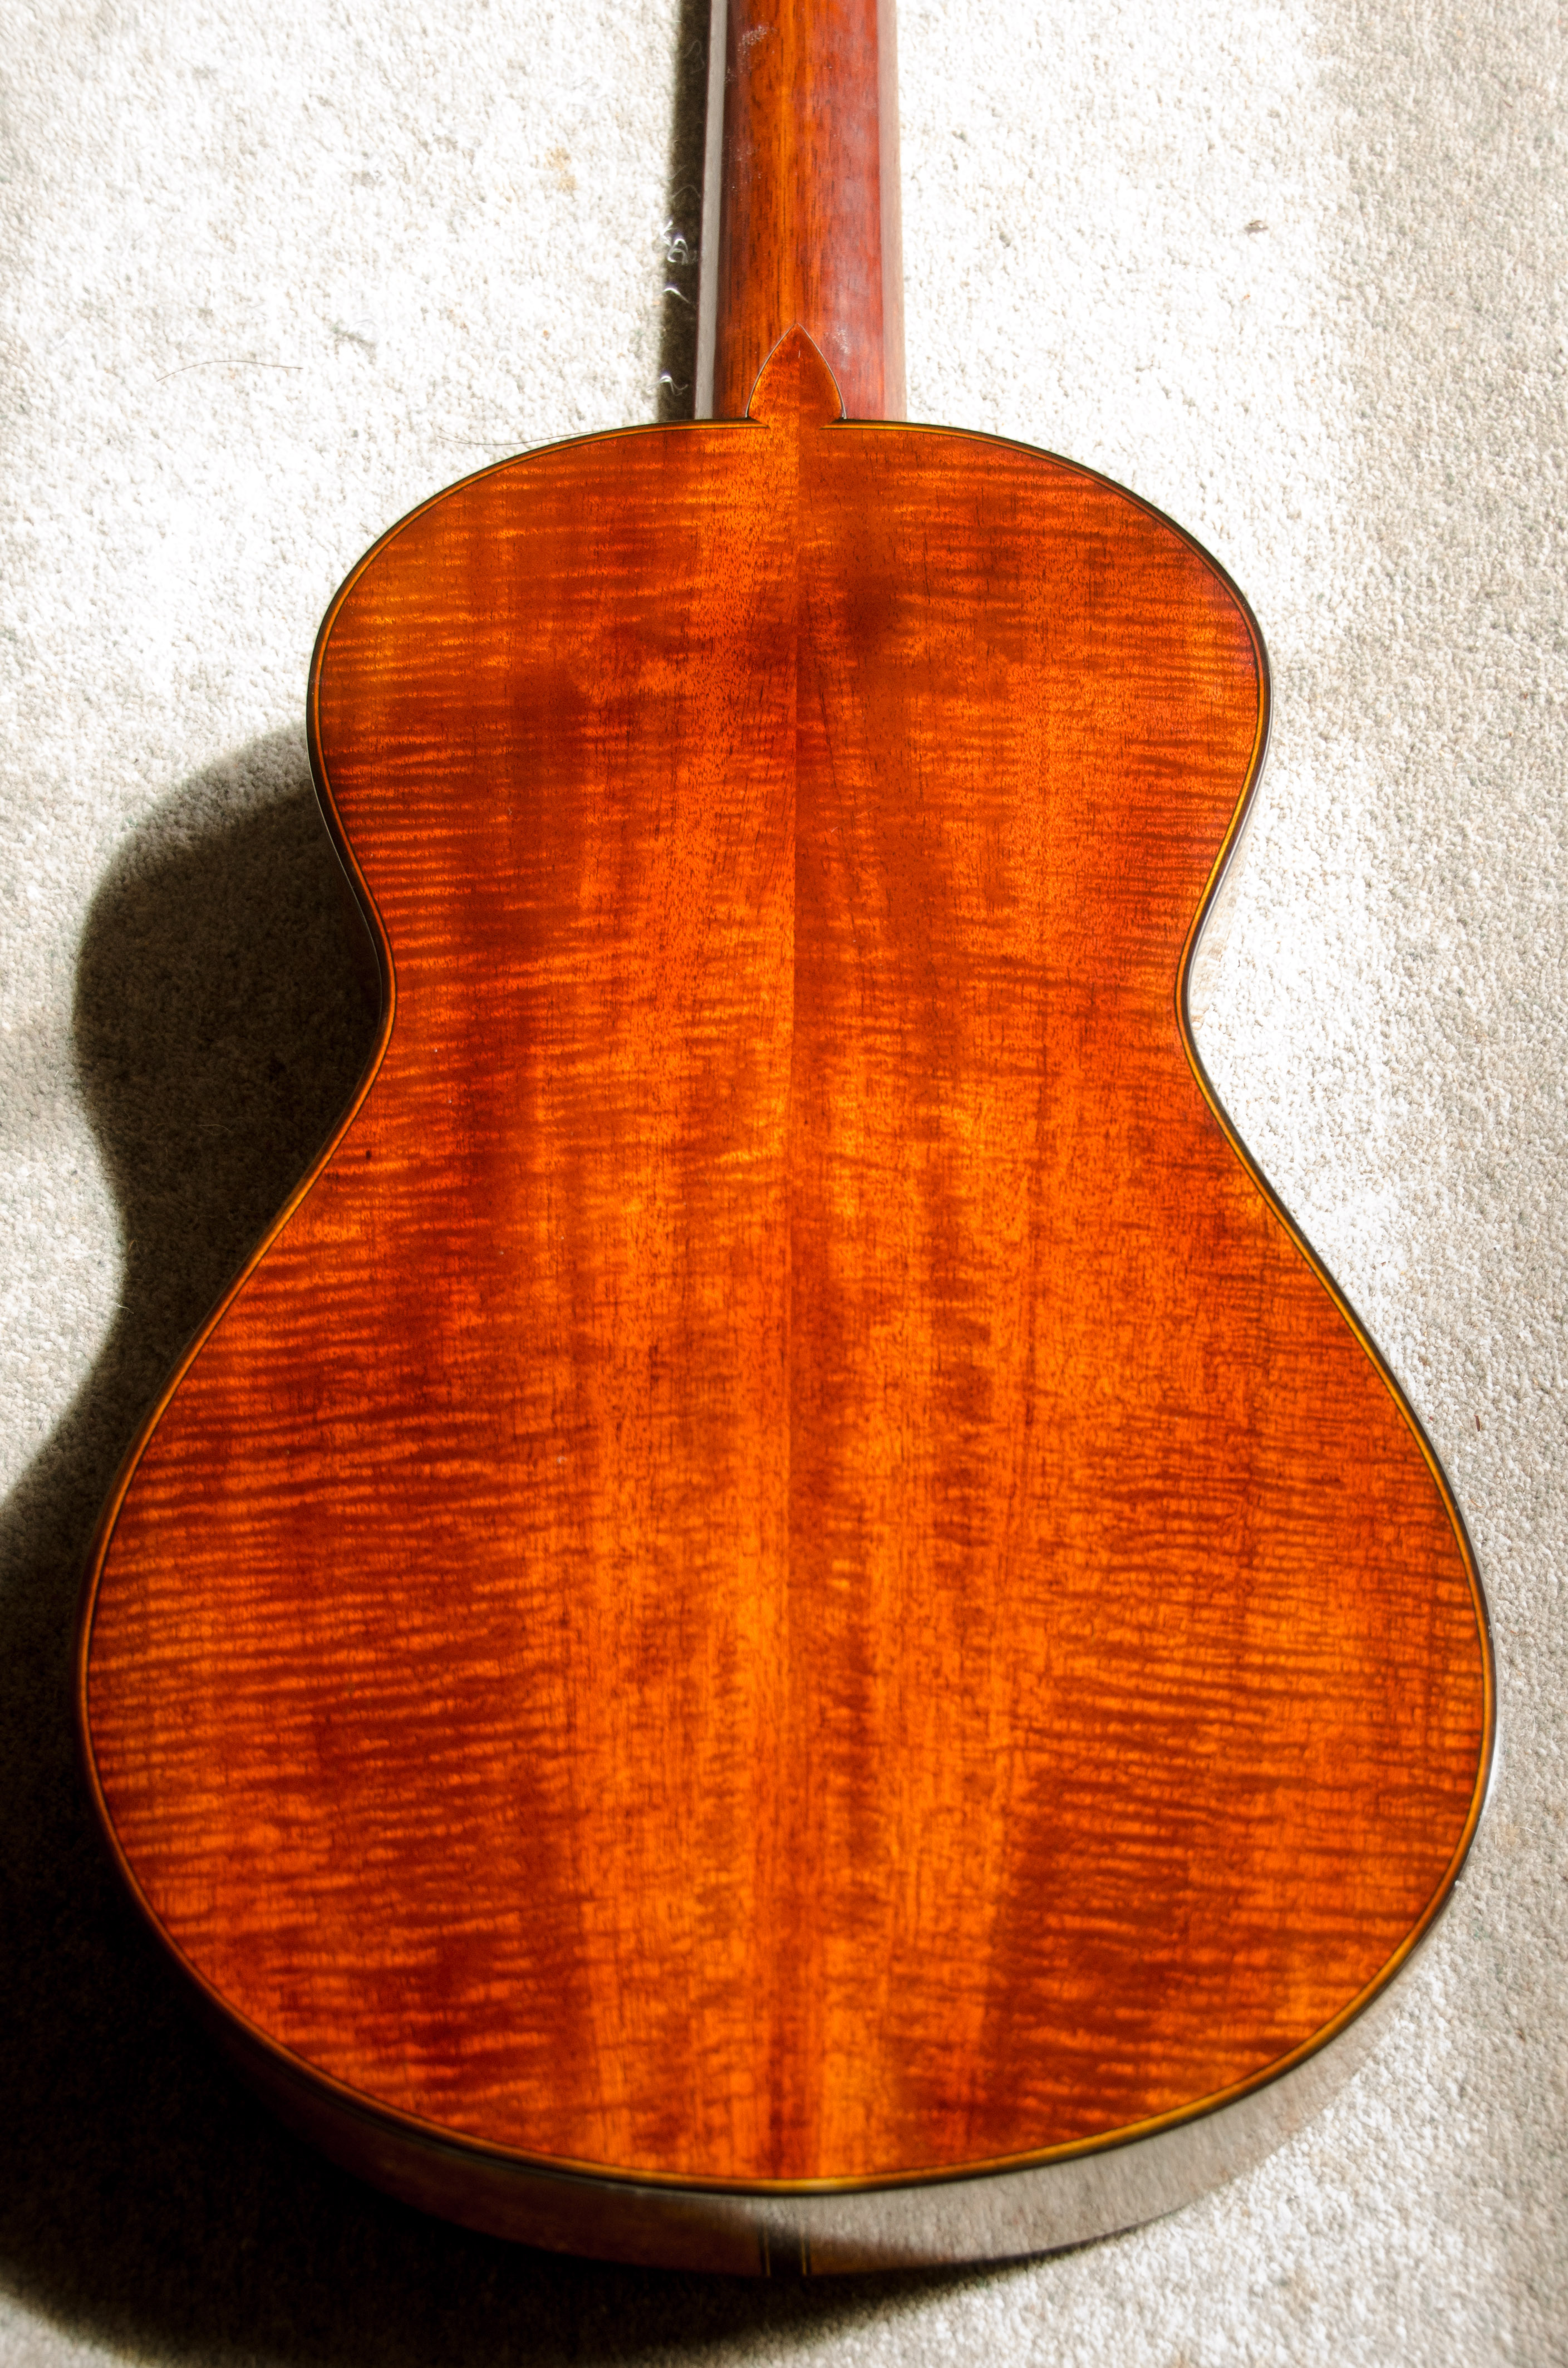
It’s much smaller than modern concert guitars with a body length of 425mm and a width across the lower bout of 283mm.(Typical figures for a concert guitar would be 490mm and 380mm.) It’s based on an instrument made by Antonio de Torres in 1888 for which workshop drawings are available in Roy Courtnall’s book Making Master Guitars. The soundboard is spruce and I used some old Brazilian mahogany with a striking fiddleback figure for the back and ribs. It’s finished with French polish.


It was commissioned by Gill Robinson, a professional artist and keen amateur guitarist, who was looking for an instrument that was light and easy to handle. Here she is trying it out.


DSC_9398-Edit


Although I copied the shape and size and bracing pattern of the original guitar, I wasn’t trying to make a replica and I felt free to modify some details. The headstock is slotted to allow modern tuning machines, while Torres’ instrument used tapered wooden pegs. The scale length is slightly longer than the 604mm of the original at 613.5mm. This isn’t as arbitrary as it may seem, because 613.5mm gives the same open string length as a 650mm guitar with a capo at the first fret. I also used a 12 hole tie block for the bridge. Photographs of some of these details below:


DSC_9360


DSC_9390


DSC_9385


DSC_9365


DSC_9369


Advertisement

A while ago, I wrote about repairing the damaged soundboard of a cedar topped guitar. And I’ve recently had to deal with a similar problem, this time caused by the lid of the case falling on the guitar as it was being lifted out. The damage wasn’t structural but it did leave some conspicuous dents.

The soundboard had been finished by French polishing and I reckoned that simply re-polishing the damaged area would be almost enough. However, first, using a hot (but not too hot) iron and some wet kitchen paper, I steamed out the dents. When dry, I lightly sanded the area before brushing several coats of clear shellac into the places where the polish had been chipped off. After a couple of days to allow it harden, I sanded again with 1500 grit paper to level the area and then re-polished the whole of the lower part of the soundboard in the traditional way using a pad to apply the shellac. Another few days for the shellac to harden, a quick buff up with some burnishing cream and damaged area was almost invisible.

But not completely invisible because, viewed in certain lights, the repaired areas were just identifiable as slightly paler patches. You can see them in the photograph below. I had exactly the same problem with the last repair and I don’t know how to eliminate it. This time I tried exposing the bare wood to UV light for a few hours before applying any shellac but I’m very doubful that it made any difference. Maybe I should have left it under the UV light for longer. If anyone has a better idea, I’d love to hear from them.

The guitar that I have been writing about in my last few posts is now, more or less, completed. It’s finished with French polish, which will benefit from a final burnishing in a couple of weeks time when it has got fully hard. But I couldn’t wait any longer to string it up and hear how it sounds. The back and ribs are zebrano and the soundboard is European spruce. The binding is Rio rosewood and maple, and the soundhole rosette and headstock veneer are spalted beech. I’m pleased with how it has worked out, though perhaps I got carried away when it came to the rosette, which might have been more elegant if the diameter had been a little less. Below are a few photographs of the completed instrument.

-0002

-0009

-0011

-0014

-0007

Unfortunately, the shellac experiments failed to reproduce the problem that I had with the polish that failed to harden. I put blobs of shellac from each of the containers of the stuff that I had in the workshop onto a sheet of glass and left them overnight: all hardened satisfactorily. So I can rule out the possibility that the shellac I was using was too old.

I also French polished a piece of scrap mahogany, using a lot of mineral oil on the rubber and building up a thickish layer as quickly as I could. That worked fine. So Bob Flexner was quite right when he said that it wasn’t the oil causing the problem.

I’m left without an explanation but I have learnt something. First, it’s always worthwhile to check that the shellac hardens using the ‘blob on glass’ technique before starting to polish an instrument. Second, mineral oil is an effective lubricant for the rubber and doesn’t compromise the quality of the finish. And third that, if the polish doesn’t harden fairly quickly, the best thing to do is wipe it off and start again rather than waiting around in the hope that it will harden eventually.

It looks as if  I’m wrong about the problem with non-hardening shellac that I mentioned in my last post. There, I suggested that it might have been due to using mineral oil to stop the pad sticking when applying the shellac. Bob Flexner emailed me saying that neither he nor the hundreds of people that he has taught have ever encountered any trouble with mineral oil. Indeed, the reason that he prefers mineral oil to linseed oil is that unless one is careful in removing all the linseed oil, it cures soft and gummy on the surface.

I’d like to get to the bottom of the matter, not least because I don’t want to run into the same trouble in future. So I’ve carried out some experiments to try to reproduce the problem using various types of shellac in combination with various types of oil to see if they harden differently. If anything useful comes of them, I’ll write about it.

French polish isn’t the most hard-wearing finish for a guitar and it’s time consuming to apply. But it does have at least three enormous advantages. The first is that, in spite of the repetitive nature of the process, it’s remarkably enjoyable to do. The second is that you don’t need any kit: no spraygun, no mask, no nasty solvents – just a pad and a bottle of shellac. And the third is the fact that, if it does get damaged, it’s fairly easy to repair.

A cedar top classical guitar that I made a year or so ago got damaged the other day when it was treated like a Stratocaster. A young friend of its owner, keen to show off his skills as a rock musician, strummed it using a pick. Unfortunately, he didn’t notice the marks he was making on the soundboard until there was a comet’s tail of scratches on the treble side below the soundhole.

After unstringing the guitar, I steamed out the deeper gashes where the pick had dented the fibres of the wood and then re-polished the top. It’s not quite as good as new because, if you get the light right and look closely, you can just make a out a faint ghost of the original scratch. I’m not quite sure why but perhaps, where the pick reached the surface of the wood, it exposed slightly lighter coloured wood beneath.

I stupidly neglected to photograph the instrument before I started work, but here it is re-finished, re-strung and enjoying the spring sun while the polish hardens off.

%d bloggers like this: