Skip navigation

Tag Archives: baroque cello

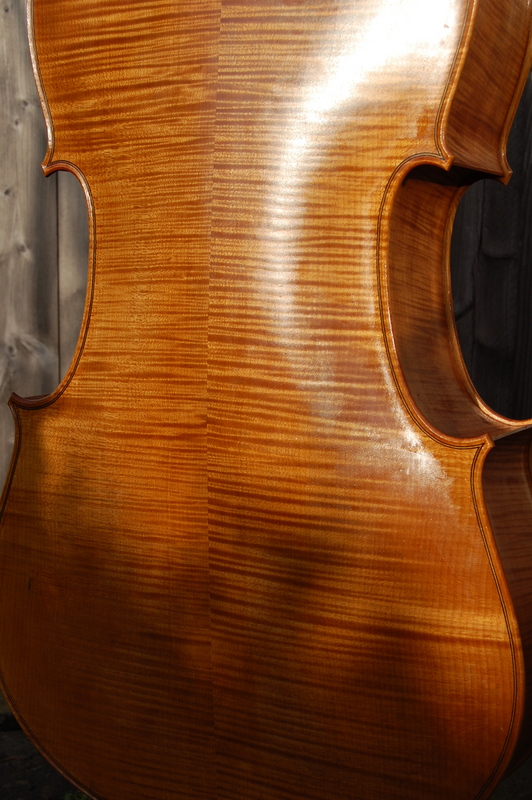
Several years ago, while  trying to photograph a baroque cello that I had just completed, I hit on a way of accenting the curves of the scroll and pegbox by using a dark background and a couple of angled light sources.  I was rather pleased  with this discovery and took a series of photographs, a couple of which you can see below.

DSC_0002

DSC_0006


But I was even more pleased when the cellist Steven Isserlis and the art director of Hyperion Records wanted to use one of these photographs for the cover of his recent recording of the Beethoven cello sonatas. The CD isn’t due for release until January 2014, but you can hear excepts here. I’d like to be able to add that Isserlis is playing the cello on the cover, but in fact he’s playing the Marquis de Corberon Stradivarius of 1726, on loan from the Royal Academy of Music.


Cello scroll-001

Advertisement

Patrick Gale, who commissioned the baroque cello that I completed earlier this year, spoke  about why music was important to him in a recent broadcast on  BBC Radio 3.  If you missed his  brief and amusing  talk,  you can listen to it  here for the next few days.

The varnish on the baroque cello eventually got hard enough to let me string up the instrument again and send it off to its new owner, Patrick Gale, who lives in Cornwall. Patrick is best known as a novelist but he’s a keen and talented musician too and I hope he will be pleased with cello and the sound it makes. He tells me that he taking part in a series of programmes on amateur music-making that will be broadcast on BBC Radio 3 later this year. Unfortunately, although he mentions this cello on the programme, he doesn’t get to play it.

Before parting with the cello, I took a few photographs. There are 3 below and more in Gallery.

dsc_0004

dsc_0011

dsc_0008-1

Watching varnish dry is a famously dreary activity. I’ve been passing the time thinking about ways of photographing the cello. Here’s one attempt.

dsc_0002

I’ve made a start on the varnishing, aiming at a warm honey colour for the finished instrument and trying to bring out the figure of the maple to its best advantage. At this time of year in England, there isn’t much sunlight and unless you have access to a drying cabinet, which I don’t, it’s necessary to leave a long time between coats. Still, it seems to be going fairly well, even if fairly slowly. The photographs below were taken outside on a rare sunny day. (Click on a thumbnail for a more detailed view.)

The front, like the back, is made from two book-matched pieces – but this time of spruce rather than maple. Here they are, joined and cut out and being roughly shaped.

dsc_0020-1

The arching has been completed and the position of the f holes sketched in place.

dsc_0005-2

The hollowing of the inside is now finished.

dsc_0007

Blocks have been glued into place so that the bass bar can be fitted. They’re a temporary scaffolding and will be removed later.

dsc_0009

The next stage of fitting the bass bar.

dsc_0010

Below is a photograph of the front being glued onto the instrument.

dsc_0023

The starting point for the back was two pieces of nicely figured book-matched maple.

dsc_0005

I glued them together and cut out the outline roughly on the band saw. Then followed quite a lot of hard work, finalising the outline and establishing the arching – at first roughly with a gouge, but later smoothly and precisely with thumb planes and scrapers.

dsc_0130

Here a channel has been cut for the purfling.

dsc_0131

After hollowing the back to a thickness of around 6mm in the centre and 3.5mm at the edges, the weight of the plate had been reduced to 630 grams and the tap tone had fallen to somewhere between C and C sharp and I was ready to glue it to the rib and neck assembly completed earlier.

dsc_0015-1

After the clamps have come off, it begins to look something like a cello.

dsc_0022

Unlike modern cellos, which have their necks morticed into the top block, baroque cello necks are simply glued and nailed. I say ‘simply’ but it’s a slightly nerve racking business partly because there’s little opportunity for later adjustment if the neck position isn’t absolutely right but also because, if the neck splits as the nails are driven in, a good deal of work is wasted. You drill pilot holes first, of course, but even so…

The first step is to prepare the neck and carve the scroll and pegbox.

dsc_0001-1dsc_0004-4

Then the partially completed neck is glued and nailed onto the top of the rib assembly. As the photograph shows, this is done upside down.

dsc_0011-3

%d bloggers like this: