Pictures are better than words when it comes to describing how to make something. So yesterday, I made a curved sole finger plane, keeping a camera within reach to record each step. I hope these photographs will be a useful supplement to the written instructions in my last post. Read across the rows to stay in sequence and click on any of the thumbnails for a larger view and (sometimes) more detailed comments.
-
- Quarter sawn block of elder
-

- Lignum vitae
-

- Blade
-

- One flat surface on each block
-

- Gluing the two together
-

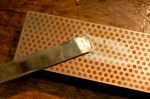
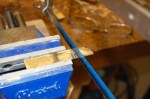
- Flattening the back of the blade
-

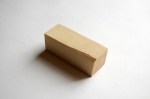
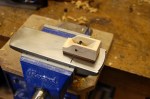
- Block planed square on all sides
-

- Sliced into a sandwich
-

- Checking the width of the middle of the sandwich
-

- Marking for the saw cuts
-

- Middle layer sawn
-

- How it goes back together
-
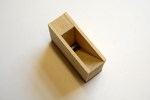
- How it goes back together (2)
-
- Glueing it back together
-

- Re-assembled and glued
-

- Planing the sole
-

- Making a wedge
-

- Positioning the crossbar
-

- Drilling for the crossbar
-

- Drilled
-

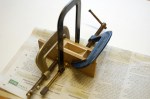
- Turning the crossbar
-

- Checking with the blade and wedge
-
- Crossbar installed and glued
-

- Shaping the top (1)
-

- Shaping the top (2)
-
- Shaping the sole
-
- Shaped sole
-

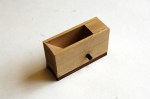
- Adjusting the mouth
-
- Curving the cutting edge of the blade
-

- Trying it out
-
- Finalising the shaping of the top and throat
-

- Carving the wedge
-
- Cutting excess length from the blade
-

- The three parts finished
-

- … and assembled
-

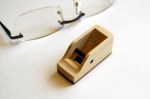
- Testing
-

- Tight mouth
-

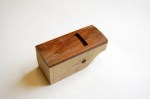
- The finished plane
